Lightroom Classic Presets: XMP Reference (2026)
You've finished editing a shoot in Lightroom Classic, then opened the same RAW files on another Mac and discovered that the presets are missing, the colors don't match, or the export looks different from the version you approved. The preset itself may be perfectly intact. The friction usually comes from storage location, adjustment support, or the way another application interprets the settings.
Lightroom Classic presets work best when you treat them as portable editing recipes, not magic filters. Before migrating a library, identify which settings matter, confirm how the destination app reads .xmp files, and test both editing and export behavior on representative images. This reference focuses on those practical details, including the problems that preset marketplaces and short installation guides tend to skip.
Understanding Lightroom Classic Presets and Their Role in Modern Workflows
A Lightroom Classic preset is a saved group of Develop settings. It can contain adjustments for exposure, color temperature, saturation, contrast, tone, lighting, and other aspects of an image. Adobe documents presets as reusable settings that can be applied from the Presets panel or during import, which makes them part of the normal editing workflow rather than an optional add-on. See Adobe's Lightroom Classic preset documentation for the application's current behavior.
The first portability question is where Lightroom Classic stores the preset collection. By default, presets are kept in the user account folder. Lightroom Classic also offers Store Presets With This Catalog, which places them alongside the catalog. The first option suits a shared editing environment where several catalogs use one library. The second is more useful when a catalog and its creative settings need to travel together.
A practical setup before migration
- Open the Presets preferences. Confirm whether presets are stored in the account location or with the catalog.
- Create a test collection. Include a basic color preset, a black-and-white preset, and a preset that uses more advanced adjustments.
- Export or copy the source files. Keep the original folder structure and don't rename files while testing.
- Apply the presets to sample RAW files. Save reference exports so you can compare the result after migration.
- Record the exceptions. Note masks, profiles, grain, calibration, and other settings that may need manual review.
The catalog also tracks editing history and preset-related settings. That matters because a preset isn't merely a visual overlay. It's a reusable recipe embedded in Lightroom Classic's non-destructive editing system. Photographers comparing photo editing presets and workflow approaches should therefore evaluate storage, adjustment mapping, and export behavior, not only the appearance of the preview.
Practical rule: Back up both the preset files and the catalog context before changing applications. A folder of
.xmpfiles may preserve the recipe, but it won't preserve every Lightroom-specific relationship around that recipe.
The .xmp Preset Format and Cross-Platform Compatibility
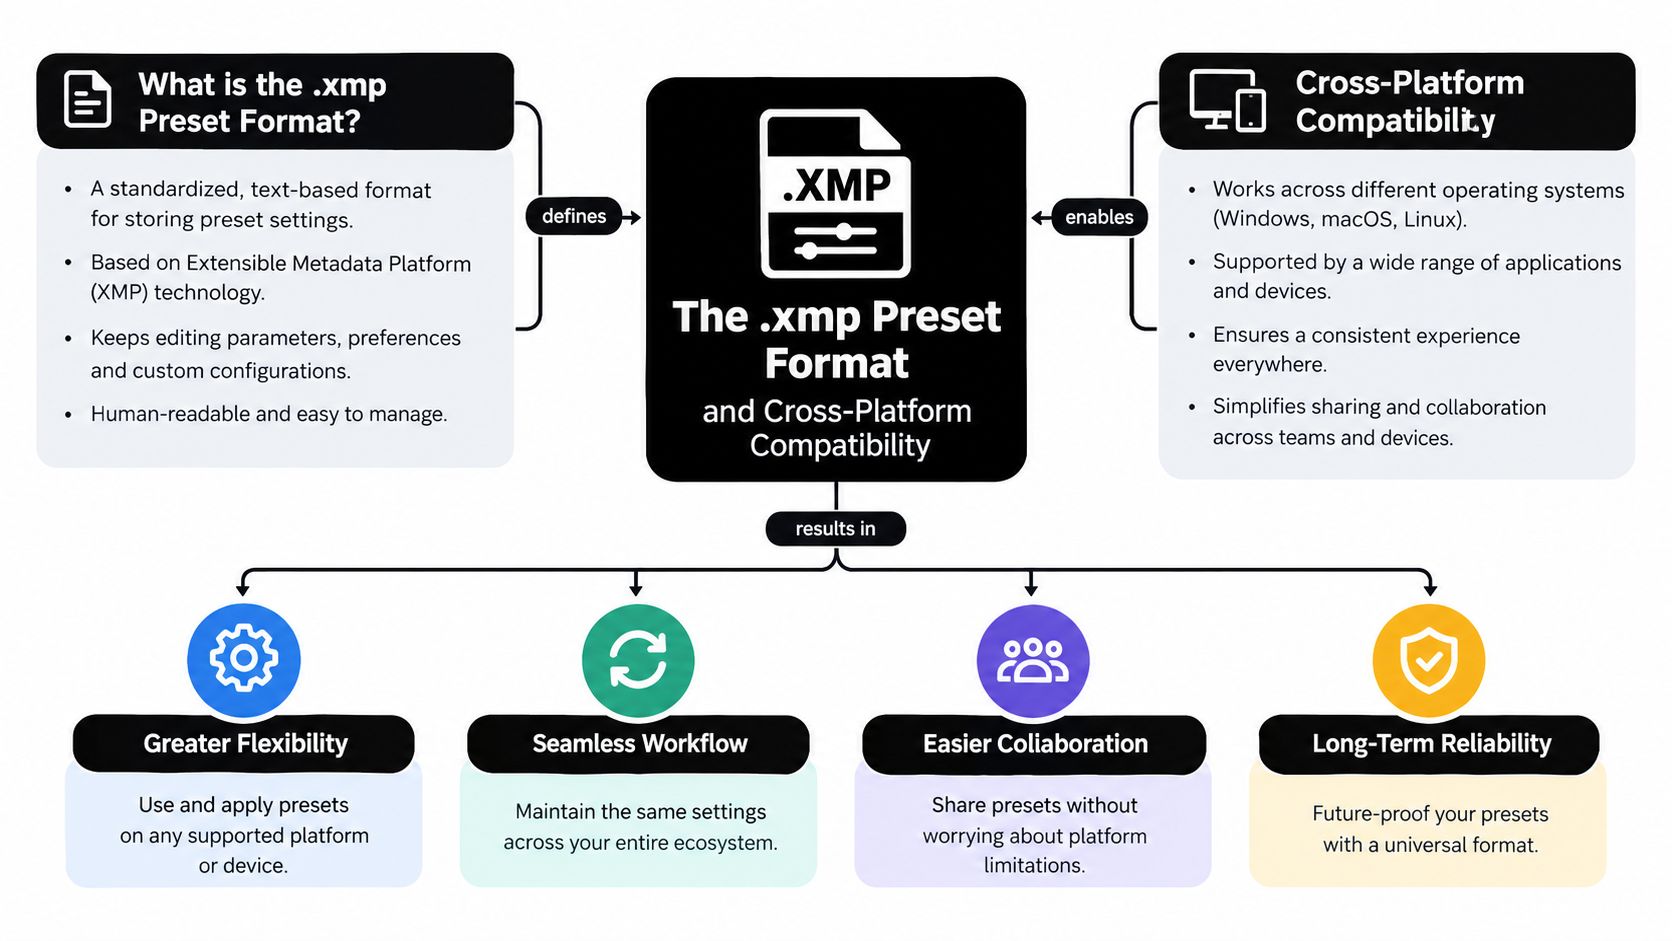
The .xmp format is the main point of contact between Lightroom Classic and other applications that support Adobe preset metadata. In practical terms, an .xmp preset describes adjustment values and related metadata. It doesn't contain a finished, baked-in photograph. That distinction is why the same file can act as a starting point in more than one RAW editor, while still producing different results when applications interpret unsupported settings differently.
What usually transfers
Basic tonal controls are the safest place to begin. Exposure, contrast, highlights, shadows, white balance, saturation, and straightforward color adjustments are easier to compare because their purpose is visible and their values can often be mapped directly.
More application-specific features need a separate check:
- Profiles and camera interpretations may not have an equivalent in the destination editor.
- Masks and selections can depend on the destination application's own masking engine.
- Lens corrections may use different camera and lens databases.
- Calibration and camera-specific color controls can change the result even when the visible slider names look similar.
- Local adjustments and AI-assisted edits may be ignored, approximated, or rebuilt using another tool.
Adobe’s cloud-based Lightroom offers Recommended and Premium presets. Its current presets guidance describes Lightroom, which is a separate application from Lightroom Classic. Do not assume its recommendation or cloud-sync features are available in Classic or transfer through an XMP file.
The .xmp extension doesn't guarantee identical rendering across applications. XMP is a metadata container; the extension alone does not identify a Develop preset or guarantee that an editor supports its settings. A native Mac editor may preserve the broad tonal intention while dropping an adjustment it doesn't support. The right test is visual and operational: compare a reference image, inspect the mapped controls, and export the result to the destination you really use.
If your migration also involves DNG files, keep the RAW and sidecar relationship clear. A DNG can carry editing information differently from a separate sidecar, so opening DNG files on a Mac should be tested with the exact files and application version used in production.
Importing Lightroom Presets into Native Mac Applications
Start with a clean test rather than importing an entire library. Copy a small set of .xmp files into a clearly named folder, choose two or three RAW images with different lighting, and keep one Lightroom Classic export as your visual reference.
Importing into Lightroom Classic
In Lightroom Classic, open the Develop module and locate the Presets panel. Select the plus button, choose Import Presets, and point Lightroom to the preset files or the supplied archive when the application accepts it. After import, expand the relevant group and apply one preset to a test image.
If the group doesn't appear, restart Lightroom Classic and check the Presets preferences. Also verify that the files are current .xmp presets rather than legacy .lrtemplate files. Adobe documents both storage behavior and migration continuity, so an update shouldn't automatically mean that your library has been abandoned, but a backup remains essential.
Importing into a native Mac editor
Native applications don't all expose the same menu names. Use this sequence wherever the application supports Lightroom preset import:
- Open the preset or look library. Don't begin from the export panel. Editing presets and export presets serve different jobs.
- Choose the import command. Select the
.xmpfiles, or a folder if the import dialog supports folders. A Lightroom catalog is not a preset file. - Wait for indexing to finish. A preset may be imported successfully but remain hidden while the library refreshes.
- Create or select a category. Preserve the original vendor or creator grouping until you confirm the mapping.
- Apply one preset to a RAW file. Check the image and the visible adjustment controls.
- Save a reference look only after verification. If the native editor has its own preset format, save the imported result in that format for future use.
RevelRaw is one native macOS option that can import compatible Lightroom .xmp presets and .cube LUTs. Its look library supports organizing imported looks, including renaming and reordering. Adobe profiles, crops, masks, and Lightroom catalogs are not imported. That doesn't mean every Lightroom setting will transfer. It means you have a practical test path for separating the portable part of a recipe from the Lightroom-specific part.
Preset Categories and Organization Strategies for Mac Editing
A Lightroom preset folder often reflects how its creator packaged a product, not how you shoot. Native Mac applications may flatten that hierarchy, rename groups, or place imported looks beside built-in options. If you import everything at once, you can end up with a large, indistinct library that slows decisions instead of helping them.
Use categories based on the decision you make while editing:
| Organizing principle | Useful groups | Why it works |
|---|---|---|
| Subject | Portrait, landscape, food, product | Narrows the search before you judge style |
| Light | Window light, overcast, sunset, mixed light | Keeps technically similar images together |
| Intent | Neutral base, muted color, contrast, monochrome | Separates correction from creative direction |
| Output | Social, web, print, client proof | Connects the look to the final destination |
| Stage | Base, refinement, finishing | Prevents a finishing effect from becoming a starting point |
Keep base presets separate from finishing looks
A base preset should establish a workable tonal and color foundation. A finishing preset might add grain, a vignette, a stronger color shift, or a distinctive curve. Combining both into one file can be convenient, but it makes batch editing harder because the same finishing treatment won't suit every frame.
A useful native workflow is to keep imported Lightroom looks in an archive category and create a smaller working library. Name the working versions by function, such as “Portrait neutral base” or “Warm interior correction,” rather than relying only on a creator's product name. This makes the collection easier to understand after a software migration.
Scene-aware suggestions can reduce manual searching by ranking relevant starting points for the image in front of you. They don't remove the need for judgment. A face, an overcast outdoor scene, and a product on a white background can all need different exposure and color decisions even when they share a broad creative style.
A preset library should reduce choices at the right moment, not increase the number of looks you audition.
Troubleshooting Common Preset Import and Application Issues
Most preset failures become easier to diagnose when you separate import, mapping, rendering, and export. Don't delete the original files after a disappointing result. First determine which stage failed.
The preset doesn't appear
Check the extension, archive contents, and destination folder. Legacy .lrtemplate files may need a Lightroom-specific installation route, while .xmp files use the current import workflow. In a native application, confirm that you imported into the editing library rather than an export or LUT section.
If the preset still isn't visible, close and reopen the application. Then import one file into a test category. A single-file test tells you whether the issue is the library, the folder structure, or the entire collection.
The look is flatter or more extreme
This usually indicates a mapping difference, not a damaged preset. Compare the Lightroom reference with the destination image at the same zoom and under the same preview conditions. Inspect exposure, white balance, tone curve, HSL, profile, and calibration first.
A destination editor may preserve the broad tonal settings while ignoring a Lightroom-specific profile or camera calibration. Rebuild the missing part as a native preset rather than repeatedly forcing the original file to behave identically.
The color changes after export
Preview and export are separate tests. Check the export format, color space, dimensions, sharpening, and metadata settings in the destination app. An image that looks correct in an editor can appear different in another viewer when the export uses a different color space or when the receiving service converts it.
Keep one controlled export from Lightroom Classic and one from the native application. Compare them in the same viewer, then inspect the export settings before changing the edit.

Batch results don't match the first image
Batch sync can copy settings consistently while still producing inconsistent-looking photographs if the frames have different exposure, white balance, or subject placement. Apply the base preset first, sync only the adjustments that should remain uniform, and make per-image corrections afterward.
Before a large batch, test the undo behavior. A reversible batch action is safer than manually repairing a whole series after an unsuitable preset or parameter has propagated.
Batch Processing and Preset Consistency Across Large Shoots
A successful batch workflow has two layers. The first layer establishes a common starting point. The second layer handles the differences that a preset can't predict, such as a subject moving from shade into direct light or a product reflecting a nearby color.
Adobe recommends applying a preset during import or editing one image and then using copy, paste, or synchronization methods to propagate the result across a batch. Its batch editing guidance supports that starting-point approach. The important phrase is “starting point.” A preset should reduce repetitive slider work, not replace image-by-image quality control.
A production sequence that holds up
- Cull before refining. Remove frames with technical problems before investing time in individual corrections.
- Choose a representative hero image. Pick a frame with typical exposure, skin tone, or product color.
- Apply the base preset. Avoid adding a dramatic finishing look before the tonal foundation is stable.
- Sync selectively. Copy global settings that need consistency, but leave exposure or white balance independent when conditions vary.
- Review the edges of the batch. Check the brightest, darkest, warmest, and coolest frames.
- Create a finishing pass. Apply grain, sharpening, crop, or export-specific adjustments only after the visual sequence works.
Native Mac editors that provide Copy, Paste, and Sync can follow the same logic. A one-step batch undo is particularly useful when a preset affects more images than intended. Still, undo is not a backup strategy. Save or duplicate the working state before a major batch operation.
Consistency matters as much as speed: review adjacent frames for unwanted shifts in exposure and color. Adobe’s discussion of Lightroom preset workflows explains how reusable settings can support a recognizable style. A preset still needs testing across different lighting conditions.
Quick Reference - Preset Types and Their Mac App Behavior
Use the table below as a first diagnostic when a migrated preset behaves unexpectedly. It distinguishes editing recipes from output instructions, because moving an image between applications doesn't automatically move the export workflow with it.
| Preset Type | Supported Parameters | Native App Notes |
|---|---|---|
| Develop preset | Exposure, contrast, white balance, tone, color, and other supported edit values | Basic adjustments usually provide the clearest starting point. Profiles, calibration, masks, and application-specific tools may require review. |
| Export preset | Format, dimensions, quality, color space, sharpening, and metadata choices | Treat it as a destination recipe. It normally needs to be rebuilt in the native app rather than imported as a Develop preset. |
| AI-generated scene preset | Suggested or saved adjustments based on an image or detected scene | The destination app may not reproduce the same image analysis. Use the imported look as a base, then inspect the subject and lighting manually. |
| LUT or color look | Color transformation values supported by the destination | A LUT can influence color without replacing exposure, white balance, or tonal correction. Check contrast and clipping after application. |
| DNG or sidecar-based look | Adjustments embedded in a DNG or stored beside a RAW file | Confirm that the application reads the embedded or sidecar information before assuming the look is missing. |
The common mistake is treating every preset as interchangeable. A Kodak-style look, for example, may transfer as a broad color direction while still needing exposure and skin-tone corrections in the destination editor. Test a specific Kodak Portra preset workflow on Mac against your own camera files rather than judging compatibility from a product thumbnail.
Example Workflow - From Lightroom to Native Mac Editing
The following is an illustrative migration scenario, not a measured compatibility test.
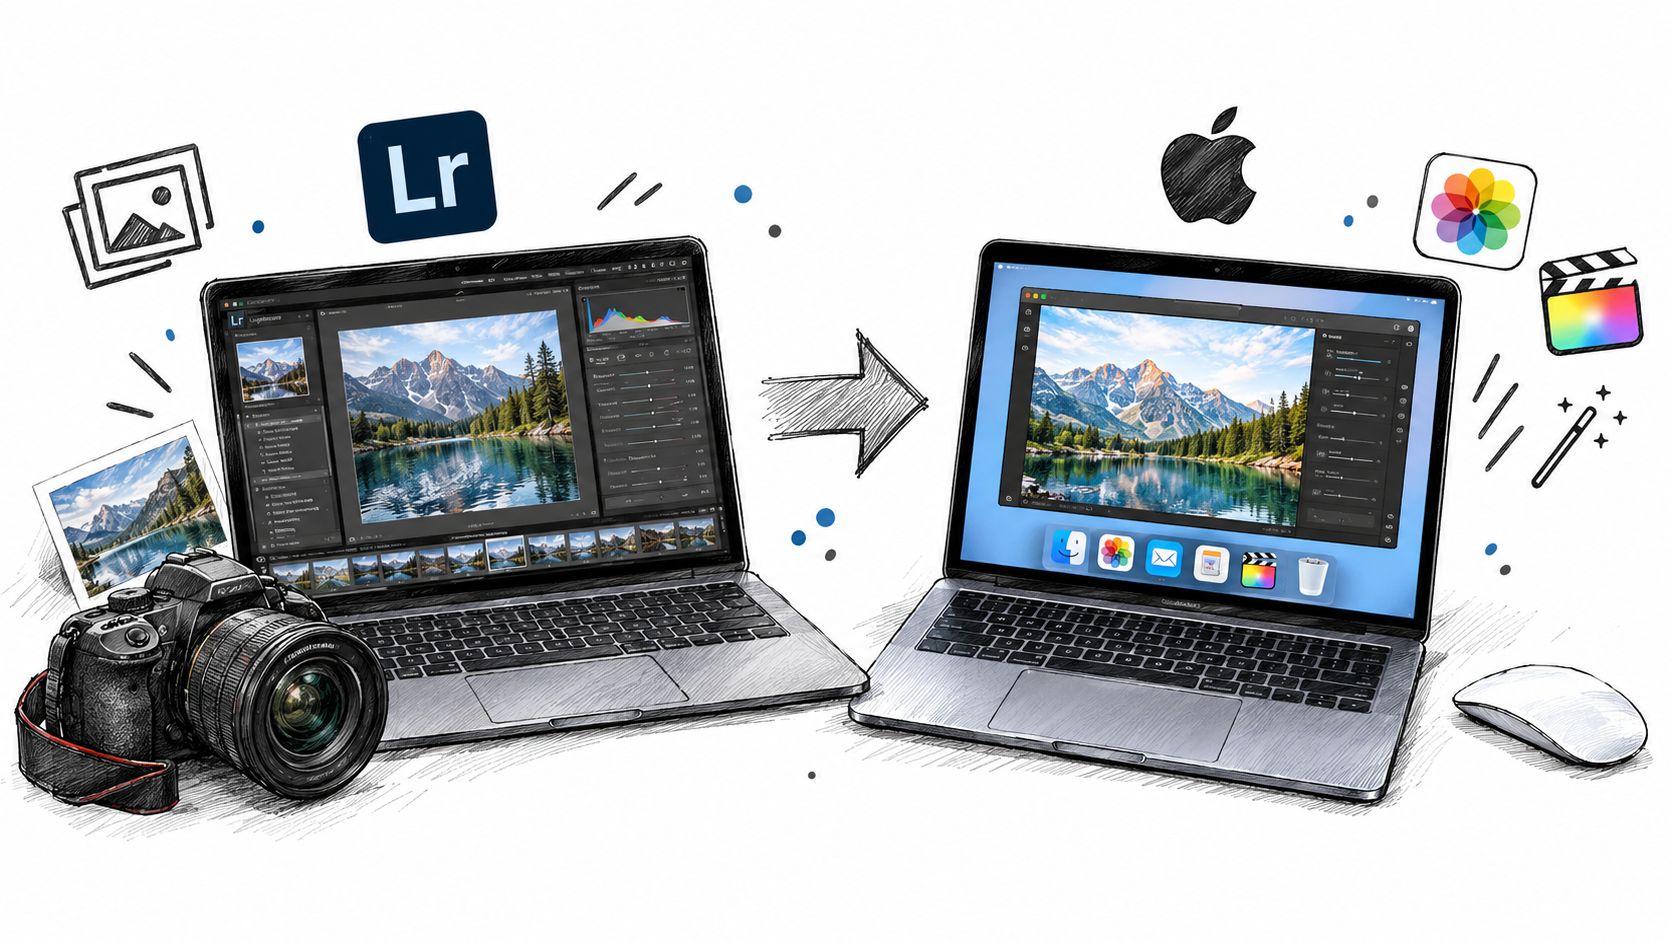
A working photographer moving away from Adobe usually doesn't need to migrate every old preset on the first day. A safer approach is to choose one current project, one familiar camera file, and a small group of looks that represent the photographer's normal output.
The first problem appears during import. The photographer sees the .xmp files in the native library but doesn't see the same group names used in Lightroom Classic. Instead of importing the entire archive again, they create categories for neutral bases, creative looks, and finishing treatments. That preserves the original files while creating a usable working set.
The visual comparison reveals the second problem. The neutral base transfers convincingly, but a preset that depended on Lightroom-specific color interpretation produces a different skin tone. The photographer keeps the imported tonal adjustments, rebuilds the color correction in the native editor, and saves that result as a native look. The original .xmp remains the reference file, not the file used blindly on every image.
The export test changes the workflow
The photographer then exports the same approved image for client review, web delivery, and print preparation. The native editor's export presets are configured separately because an editing preset describes the image, while an export preset describes the file that leaves the application. The photographer checks color space, file type, sharpening, dimensions, and embedded metadata for each destination.
For a full shoot, one representative image receives the base look first. Selected settings are synchronized across the series, then exposure and white balance are refined where the light changes. A batch undo option provides a safety net, but the photographer still reviews the sequence before delivery.
The final result isn't a perfect duplicate of Lightroom Classic. It is a controlled migration with documented exceptions, native replacements for unsupported features, and export recipes that match the actual destinations. That is the standard to aim for. A migration succeeds when the workflow is predictable, not when every slider has an identical name.
Best Practices for Managing Lightroom Presets on Mac
Treat preset management like asset management. Keep the original .xmp files in a versioned folder, preserve the creator's supplied names, and maintain a separate working collection for the presets you use. Back up the catalog or native library as well, because the preset file alone doesn't preserve your editing history or application-specific organization.
Use a migration checklist
- Inventory the library. Separate base looks, finishing looks, LUTs, export recipes, and application-specific presets.
- Confirm storage. Check whether Lightroom Classic stores presets in the account folder or with the catalog.
- Test representative files. Include different cameras, lighting conditions, and subjects from your normal work.
- Compare adjustment mapping. Identify which settings transfer and which need a native replacement.
- Rebuild export presets. Verify format, color space, dimensions, sharpening, and metadata at the destination.
- Keep a reference export. Store the Lightroom version beside the migrated test result.
- Document exceptions. Write down presets that depend on profiles, masks, calibration, or unsupported AI behavior.
- Review before purchase. Look for clear information about file format, supported applications, and whether the product is an editing preset or an export recipe.
Don't migrate everything just because you can. Keep Lightroom Classic as the source of truth when a project depends heavily on its profiles, masks, catalog history, or established client approvals. Move more of the workflow to a native Mac application when offline editing, local processing, and account-free file handling matter more than exact Adobe rendering.
The most durable strategy is hybrid during the evaluation period. Preserve the Adobe originals, create native equivalents only for the looks that earn regular use, and compare exports before committing a live client project. That approach protects the creative investment while giving you room to choose the application that fits the way you deliver photographs.
Frequently Asked Questions
How do I import XMP presets into Lightroom Classic?
Open the Develop module, click the plus button in the Presets panel, choose Import Presets, and select an XMP preset or a ZIP containing presets. Apply one to a test image before importing your full collection.
Will Lightroom Classic presets look identical in another Mac editor?
No. Editors can interpret tone and color differently, and some settings may not be supported. Compare the same RAW file with a Lightroom reference export before relying on an imported preset.
Can RevelRaw import my Lightroom catalog, profiles, or masks?
No. RevelRaw imports compatible XMP presets and CUBE LUTs, and can read supported adjustments from DNG files or accessible XMP sidecars. Adobe profiles, crops, masks, and Lightroom catalogs are not imported. RevelRaw requires macOS 26 or later.
Why is an imported preset missing in Lightroom Classic?
Check that its preset group is visible in Manage Presets and try a compatible photo. A preset may depend on a RAW file or a missing profile. Enable Show Partially Compatible Develop Presets in preferences when appropriate, and confirm the file is a preset rather than a photo sidecar.
Is an XMP Develop preset also an export preset?
No. A Develop preset stores editing adjustments. Export presets store output choices such as format, size, and quality. Recreate export settings in the destination application and verify a sample export.
RevelRaw provides a native macOS RAW editing workflow with compatible Lightroom .xmp preset and .cube LUT import, local processing, scene-aware preset suggestions, batch tools, and destination-focused export options. Test your own RAW files and reference exports in RevelRaw to see which presets transfer cleanly and which are better rebuilt as native looks.
Ready to edit your RAW files? RevelRaw reads the scene and ranks 40+ curated presets for that photograph. Free to download, with one free export to try the full workflow. Get RevelRaw on the Mac App Store (requires macOS 26 or later).